From finding the right conduit and right switches, electricity has been reliant on several crucial pieces of hardware since its existence. You see, electricity wasn’t “invented”, but rather discovered. Electrical power was always there, we just weren’t able to harness it some 140 years ago. During this period, electricity has revolutionised the way we live. From our jobs to our homes, electrical power has been at the forefront of making things more convenient.
As convenient and simple electricity has made our everyday lives, its infrastructure and the parts involved in making all of it possible are anything but. Don’t get me wrong, a power cable or switch is a simple piece of electrical equipment, but when you bring everything together things start to become a bit complex. Nevertheless, electric power has come a long way in how it gets incorporated into our homes today. It’s now safer and easier to bring electricity to every corner of your household.
How to Run Electrical Cable
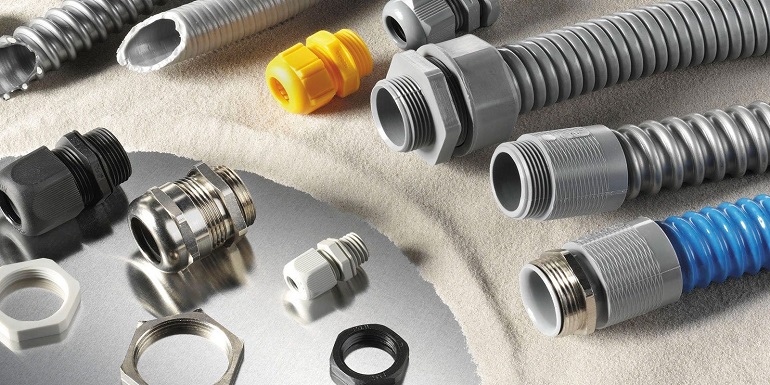
As you probably know, power cables are what transfer electricity from one place to another. They are considered the highways of electricity. This is why knowing how to run a cable flexible conduit is what will get you to power up all the devices in your living room or bedroom.
Safety
When you want to run an electrical cable in your household, you need to first ensure that you’re doing it safely. Make sure to switch off the main power from the fuse box and also isolate the circuit you are going to be working on. This is done by removing the circuit fuse. You can opt in to switch off the breaker instead and lock it if it’s possible. Make sure to put a note on the unit you’re working on to keep others from touching it. Lastly, before you start doing anything, check the circuit with a voltage or socket tester made for lighting circuits.
Tools & Materials
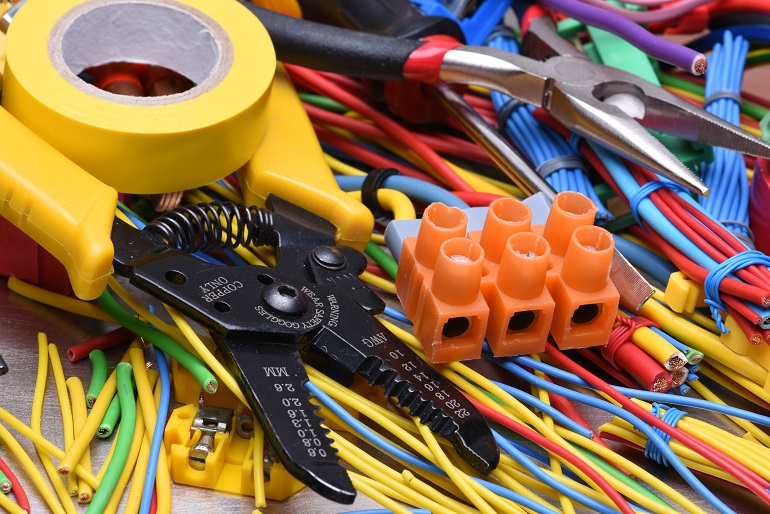
First, let’s start off with the tools you’ll need. This will include a tape measure, pliers, hacksaw, drill/impact driver, drill bit set, wire strippers, a spade, and a torpedo level. Furthermore, you’ll need leather gloves, a pipe bender, fish tape, conduit straps, wire connectors, GFCI (ground fault circuit interrupter), RMC(rigid metal conduit), electrical tape, duct seal, electrical boxes, a mattock, switches, stranded electrical wires and EMT (electrical metal tubing).
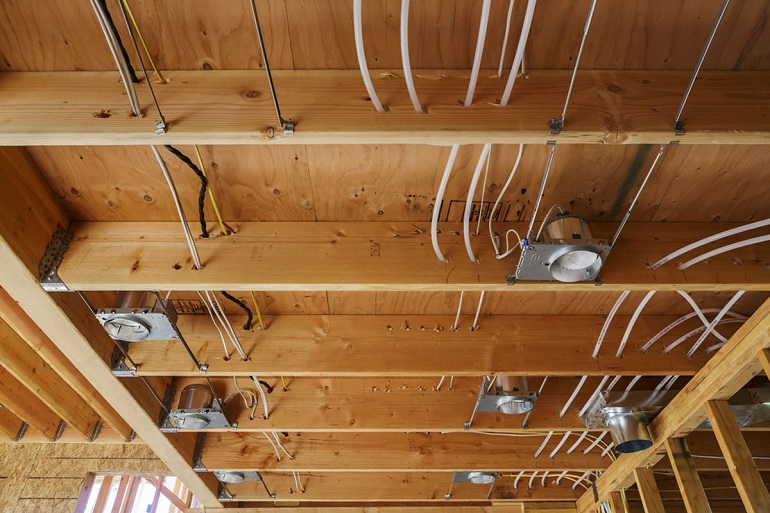
Floors
Running power cables can be done through floors too. If it’s a concrete floor in question, then you should try to run them through a conduit that was fitted when the floor was laid. Do not cut channels into the concrete afterwards.
If you’re clipping a cable flexible conduit to a joist, then run the cable along the centre of one side of the joist. Make sure to space out the clips at about 300mm intervals. If you’re drilling through a joist then make sure that the hole allows for a 25% air gap around the cable.
When it comes to ground floors, it’s best that you get access to the side underneath it and clip the cables beneath the joists. For intermediate floors, you should clip the cables to the sides of the joists and then lay them on the ceiling or just route them through the holes drilled through the joists.
Solid Walls
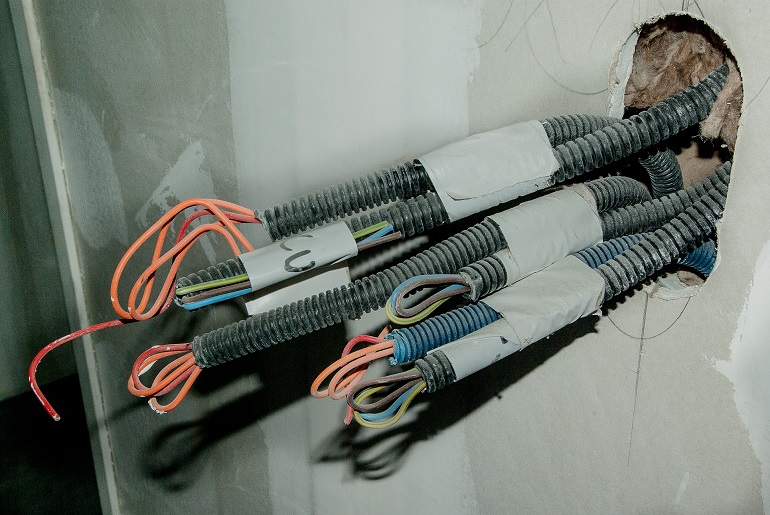
- Clipping or mounting cables on the surface of a wall is far easier but less aesthetically pleasing, which is why some people want to install their cables in the wall. When you do this, make sure to run the cables vertically to a fitting inside the wall. Plan out the route beforehand and check if a pipe or other cable is in the way using a cable detector.
- Cut out the channel where the plastic conduit will sit for the cable to run safely using a bolster and a club hammer. The depth of this channel needs to be about 6mm wider and 3mm deeper than the conduit. Afterwards, cut the plastic conduit with a hacksaw and feed in the electrical cable.
- Lastly, fill the channel with some filler or patching plaster leaving 3mm for the additional layer. Once the first layer has hardened, add the second layer so it comes flush with the wall. Once you have the filler or patching plaster all set, sand it down to get a good finish so the layer of paint you add on top of it will stick more easily.
Stud Walls
- Stud walls require you to bend the end of the cable before dropping it into the wall. Be careful not to over-bend the cable as you can end up damaging it. After you’re done checking for pipes and cables in the way, get a 20mm wood bit to make holes at a shallow angle through the plasterboard from both above and below.
- Afterwards, get a piece of stiff wire and fish for the cable through the holes above the nogging. Then, pull the end of the cable through the hole. After you’ve done that feed, run the end of the cable back into the upper hole and through the holes you have in the nogging. Do this until the cable comes out through the lower holes.
- As the last step, pull enough of the cable through the lower hole so it reaches the fitting. Then, feed the cable back into the lower hole down into the wall and fish it out of the fitting’s mounting box hole. Lastly, just fill up the holes with filler or patching plaster and sand them down for a smooth finish after they’ve dried up.
